

Learning how to use an ice maker in a freezer is simple: ensure the water line is connected, turn the power switch on, and wait 24 hours for the first batch. This process is straightforward for any homeowner with a standard plumbed appliance.
Items for your freezer ice maker
- Water supply valve: Usually located under your kitchen sink or behind the fridge, this must be fully open.
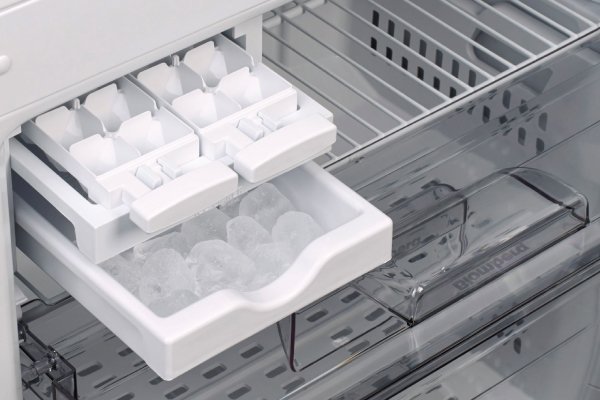
- Ice bin: The plastic container that sits under the ice maker to catch the cubes.
- User manual: Specific to your fridge brand, as some models have different switch locations.
- Water filter: Check if your model requires a fresh filter to ensure the best taste.
If you don’t have a manual, look up your model number on the manufacturer’s website. If you aren’t comfortable working with water lines or plumbing, hire a licensed plumber to prevent leaks.
How to use an ice maker in a freezer: Step-by-step
- Confirm the water connection is tight and the shut-off valve is turned to the open position.
- Slide the ice bin into the freezer compartment, ensuring it sits directly under the ice maker mold.
- Locate the power switch on the side of the ice maker unit; it’s often a small wire arm or a rocker switch.
- Flip the switch or lower the wire arm to the “on” position to start the cycle.
- Wait 24 hours for the freezer to reach the correct temperature and for the first batch of ice to fill the bin.
- Discard the first two batches of ice to ensure any debris from the new water line is flushed out.
- Check the bin daily to ensure the arm or sensor detects the ice level and stops production when full.
Tip: If you see water leaking, turn the supply valve off immediately and call a professional. Careful: Never use a sharp object to chip away ice inside the freezer, as you might puncture the cooling coils and cause expensive damage.
Situations affecting ice production
Ice production varies based on your freezer settings and usage patterns. Keeping your freezer at zero degrees Fahrenheit is essential for food safety.
| Situation | Time/Effort | What is different | What to watch |
|---|---|---|---|
| First installation | 24 hours | System is dry | Check for leaks |
| High usage | 12 hours | Faster cycling | Empty bin often |
| Filter change | 5 minutes | Flow improves | Monitor water flow |
It’s always safer to start with the standard settings and add more cooling power only if you find the ice production is too slow for your needs.
How to tell you did it right
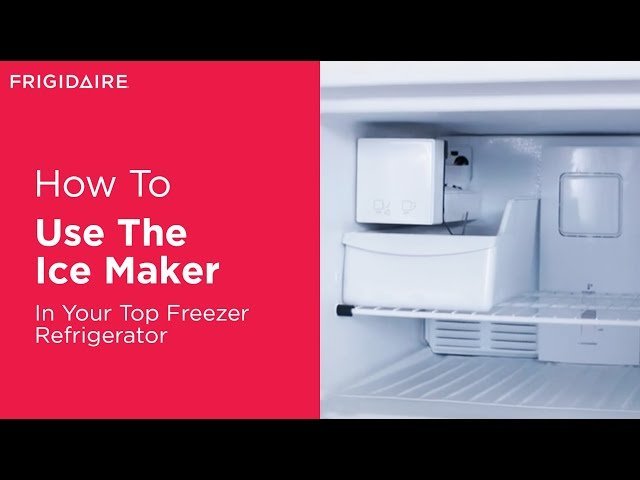
A successful result shows a bin full of clear, individual cubes that don’t stick together in a large block. If you find a solid clump of ice instead, it usually means water is dripping into the bin slowly or the freezer temperature is fluctuating too much. To prevent this, keep the freezer door tightly closed and ensure the ice maker arm isn’t blocked by tall containers. If the ice tastes strange, replace your water filter according to the manufacturer’s schedule.
Proper care and maintenance
The manufacturer’s guidelines generally recommend cleaning the ice bin regularly to prevent bacterial growth. You should discard all old ice, wash the bin with mild dish soap and warm water, and dry it completely before replacing it. If you plan to be away for more than a week, turn the ice maker off and empty the bin to prevent stale odors. Professionals should handle any internal mechanical repairs to avoid voiding your warranty.
Alternative production methods
Manual ice trays
These require no plumbing and are cheap to buy, though they take more time to fill and freeze. They’re ideal for people who only need a small amount of ice daily.
Countertop ice makers
These machines sit on your counter and produce ice in minutes using a reservoir you fill by hand. They’re faster than freezer units but take up valuable kitchen counter space.
Buying bagged ice
This is the easiest route if your appliance fails or you need a large volume for a party. It’s a recurring cost, but it saves you the effort of maintenance.
Frequently asked questions
Can I leave the ice maker on all the time?
Yes, you can leave it on as long as you use the ice regularly. The sensor arm automatically stops production when the bin is full, preventing an overflow of ice in your freezer.
Why is my ice maker not making ice?
Check if the wire arm is in the “off” position or if the water valve behind the fridge is closed. If these are fine, the water filter might be clogged and need replacing.
How long does it take to make a full bin?
It typically takes 24 hours to fill an empty bin. This time depends on the freezer temperature and how often you open the door, which lets cold air escape.
Is it safe to eat the ice?
Yes, provided your water supply is clean and you change your fridge water filter on schedule. Always discard the first few batches after installing a new filter or long periods of non-use.
What happens if the power goes out?
The ice in the bin will start to melt. Once the power returns, discard any clumped or melted ice to prevent the machine from jamming or producing odors.
Final Thoughts
Once your bin starts filling up, keep an eye on the quality of the cubes to ensure they stay fresh. If you notice any strange tastes, it’s usually time to replace your water filter. You’ll enjoy having a steady supply of ice for your drinks whenever you need it.
Related guides